

Mastering Soldering Joints and Seams
Soldering is the core technique that holds your panel together. This guide covers joints, techniques, and common issues.
Beginner • 12 min read • July 2026
Learn how to choose the right glass pieces, cut them safely, and prep them for assembly. We'll cover tools, measurement techniques, and common beginner mistakes.
Editorial Team
Written by the skanivex Editorial Team, focused on clear, practical guidance for stained glass crafting and Prague weekend workshops.
Picking the right glass is half the battle. It's not just about color — texture, thickness, and quality all affect how your finished panel looks and holds up. Most beginners rush this step and end up frustrated with cutting problems or panels that don't look right.
We've worked with hundreds of first-time crafters. The ones who succeed? They take time upfront to understand what they're buying and how to handle it. You'll notice the difference the moment you start cutting.
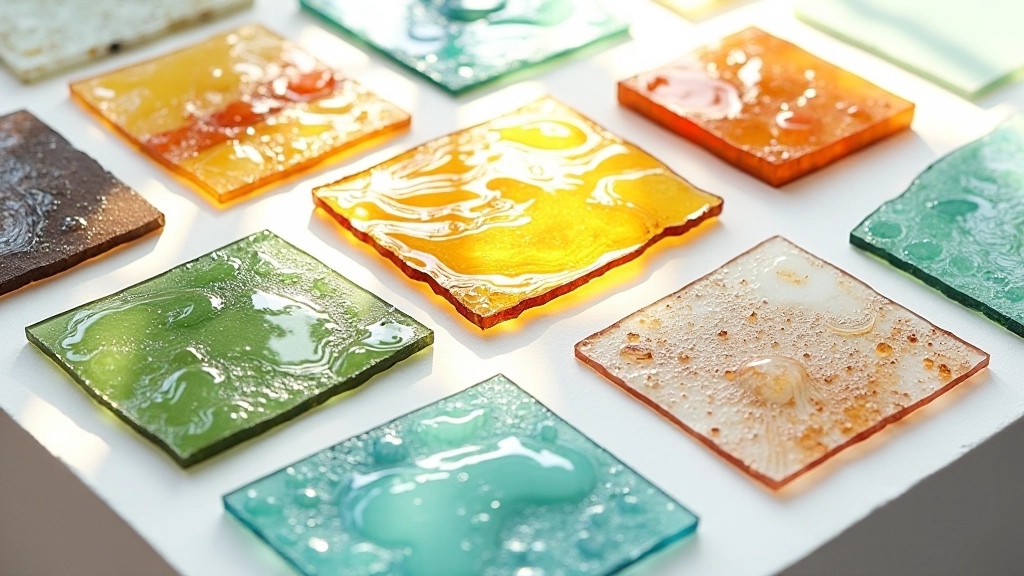
There's way more variety than you'd think. Smooth cathedral glass is popular for beginners — it's predictable and cuts cleanly. Then you've got textured glass, which adds visual interest but requires more care when cutting. Opalescent glass is trickier because light behaves differently through it, so your colors change depending on the angle.
Don't get overwhelmed by choice. Start with cathedral glass in 3-4 colors you love. That's enough for a solid first project. You'll learn what works for you. Smooth textures, consistent color — that's your baseline.
Weight matters too. Standard stained glass is about 2-3mm thick. Thinner than that and it's fragile. Thicker and you'll need better tools. Most panels use 2.5mm as the sweet spot.
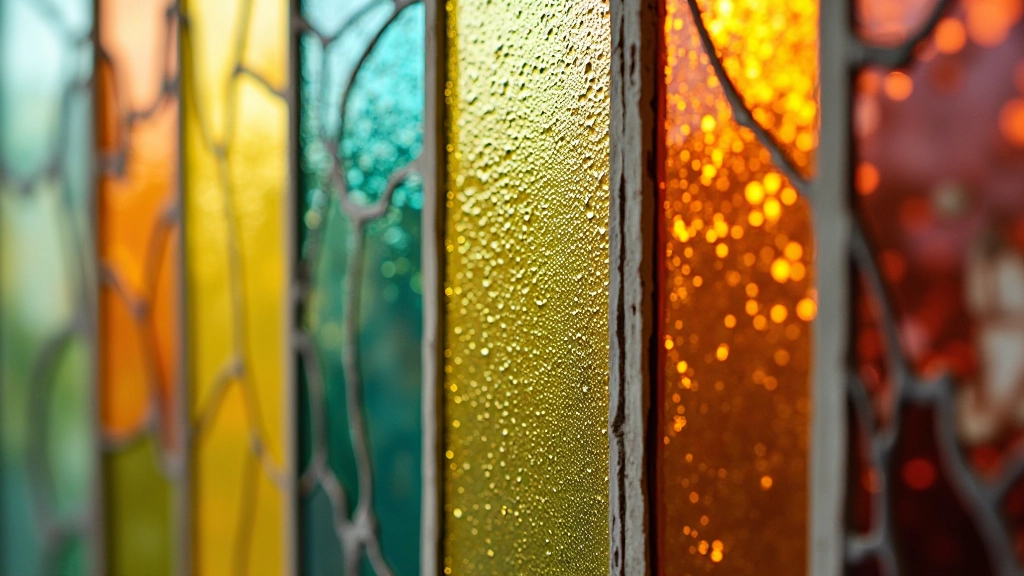
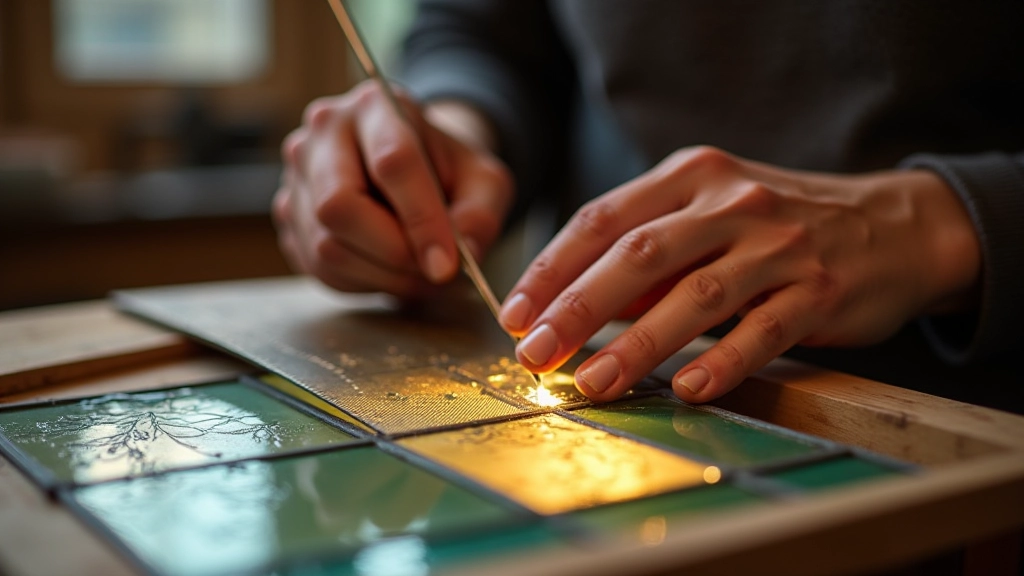
Get a good ruler and a glass marker. You'll need both. Measure twice, mark once — that's the rule here. Glass doesn't forgive sloppy measurements. We're talking about cutting pieces that fit together perfectly, so precision matters.
Mark your lines clearly but not too dark. A light pencil mark works if you're careful. Glass markers are easier though — they're visible and you can clean them off after. Average first panel? Maybe 12-15 pieces. That means 12-15 measurements to get right.
Use a steel ruler, not plastic. It won't slip during cutting and it lasts forever. Position your ruler about 3-4mm from the actual cut line — this accounts for the glass cutter wheel thickness. It's a small detail but it adds up across your whole project.
A decent glass cutter costs around 8-15 euros and it's the most important tool you'll buy. Don't skimp here. Cheap cutters won't score the glass properly, which means uneven breaks and wasted pieces. You want something with a carbide or diamond wheel.
Technique matters as much as the tool. Hold the cutter like a pen, at about 45 degrees. Don't press hard — let the wheel do the work. One smooth stroke along your marked line. You should hear a faint scratching sound, not a loud grinding. That's how you know you're doing it right.
After scoring, use running pliers to snap the glass. Position them just below the score line and apply steady pressure. The glass should break cleanly. If it doesn't? Your score probably wasn't deep enough or your line was crooked.
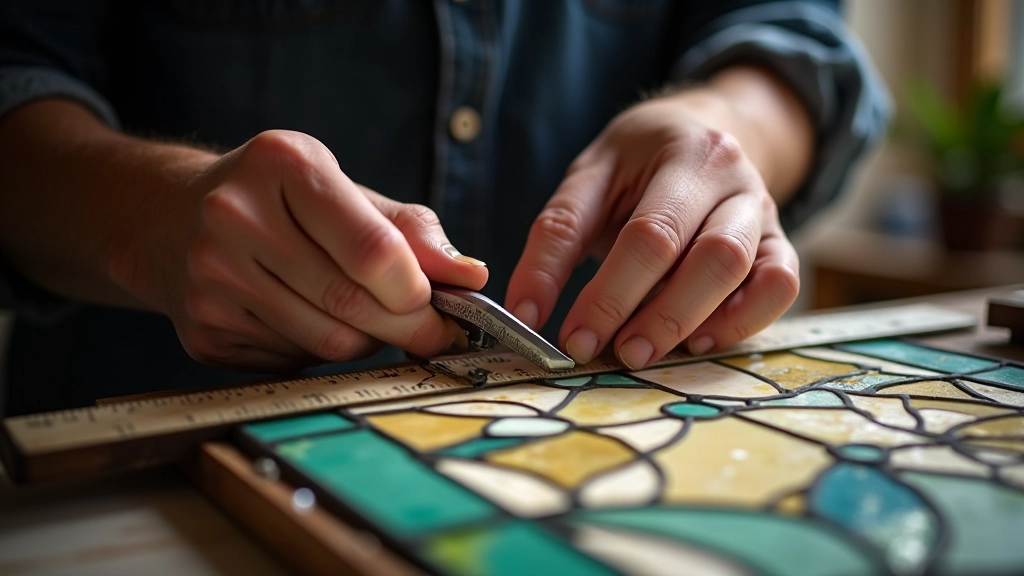
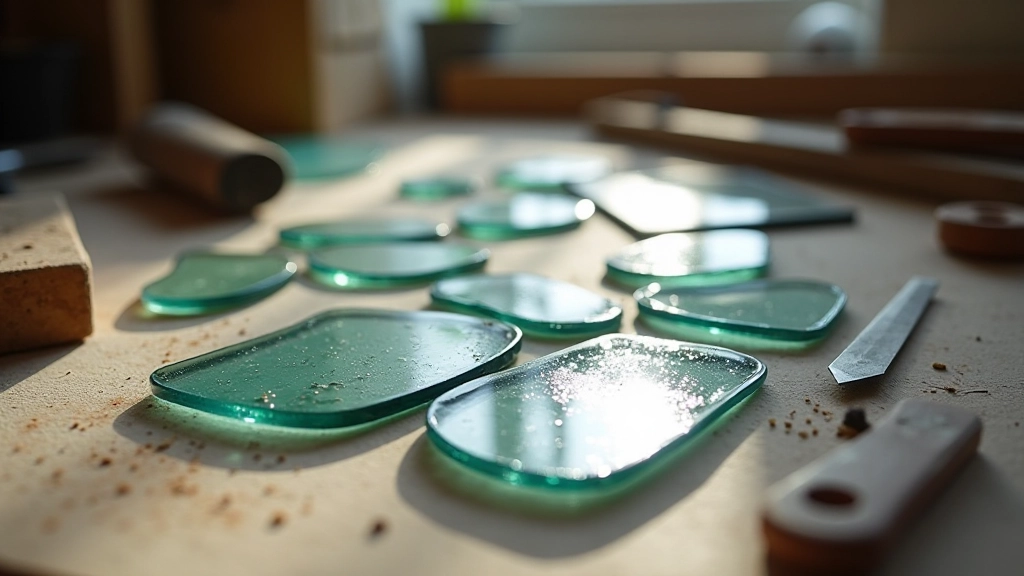
Raw glass edges are sharp. File them down before assembly. A basic glass file or grinding stone works fine — you're not looking for polished edges, just something safe to handle. Rough edges also won't fit together cleanly in your pattern, so this step affects the final fit.
Spend maybe 30 seconds per edge. Just enough to take off the sharp bits. If you're using foil or lead came, slightly rounded edges actually help them seat better. You'll notice the difference when you're assembling.
Clean your pieces after cutting and filing. Dust and tiny glass fragments affect how well solder bonds later. A soft cloth and lukewarm water is enough. Dry everything completely before assembly — moisture causes problems when soldering.
Three colors is plenty for your first panel. More options make it harder to choose, and you'll end up with leftover glass. Stick with a focused palette.
Cutting without a clear plan leads to mismatched pieces and wasted glass. Measure your pattern carefully and transfer those dimensions to the glass.
You'll snap the glass or dull your cutter. The wheel scores the surface — pressure comes from the tool's weight, not your hand.
File those edges down. It makes assembly easier and keeps your hands safe during the whole project. Five minutes of filing saves hours of frustration.
Glass dust and debris affect solder adhesion later. Clean your pieces after cutting and filing. It's quick and it matters.
Always practice your cuts on scrap glass before cutting your actual pieces. It builds confidence and shows you if your measurements are off.
Glass selection and preparation isn't complicated — it's just deliberate. You're setting yourself up for success by doing these steps right. Take your time measuring, use decent tools, and don't rush the filing. That's honestly the difference between a panel you're proud of and one you're frustrated with.
Your first panel doesn't need to be perfect. It needs to be solid. Proper glass selection and careful cutting gets you there. Once you've done this once, you'll develop a feel for it. You'll know how hard to press the cutter, how to spot good glass at a glance, and which colors work together.
Ready to move on? The next step is soldering those pieces together. That's where your panel really comes alive.
This guide is for educational and informational purposes. Stained glass work involves sharp tools and materials that require proper handling. Always follow safety guidelines, wear appropriate protective equipment (gloves, safety glasses), and work in a well-ventilated area. If you're new to the craft, consider attending a hands-on workshop or working with an experienced practitioner. Results and experiences vary based on individual skill, materials used, and techniques applied.
Soldering is the core technique that holds your panel together. This guide covers joints, techniques, and common issues.
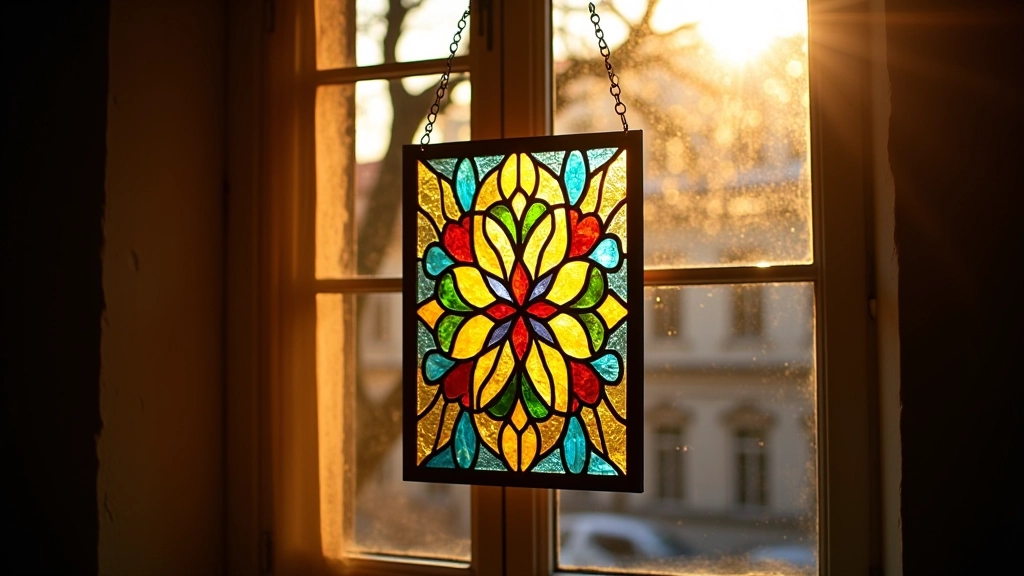
Creating a good design is the first step to success. We'll walk through planning, patterns, and color choices.
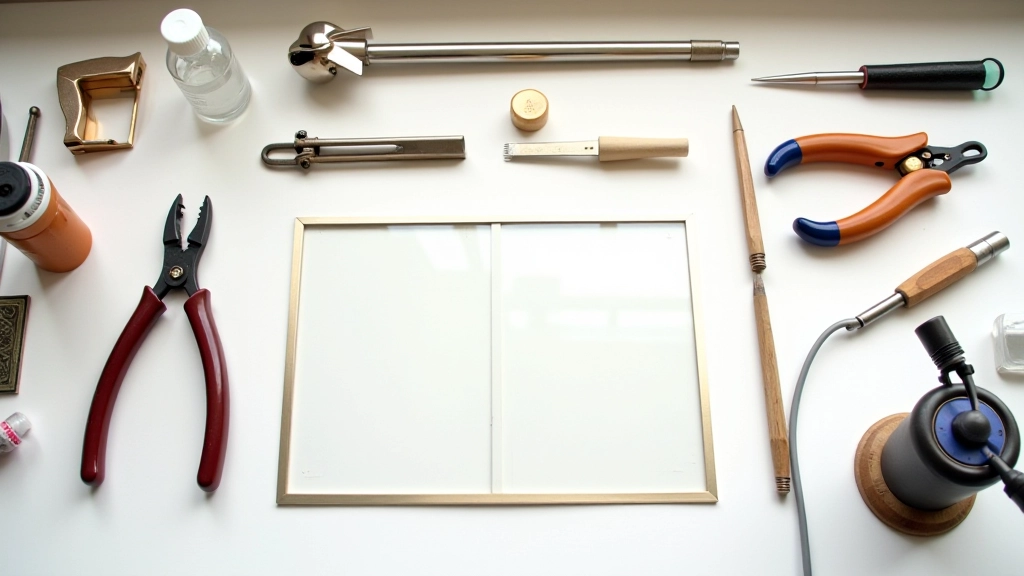
You don't need to spend a lot to get started. We cover which tools are worth buying and safety essentials.